Category Archives: Sweet Treats
A place where you can find things to satisfy that sweet tooth, for one or for many these will all be a delicious end to any meal.
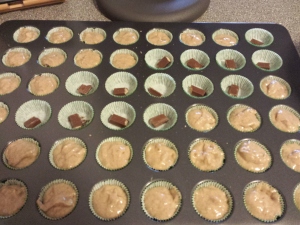
Kit-Kat Candy Bar Banana Bread Mini Muffins
1 tsp salt
1 tsp baking soda
3 tsp cinnamon
1/2 tsp baking powder
3 eggs
2 c. Sugar or Splenda
3 tsp vanilla
Start by sifting and mixing all the dry ingredients and set aside in a separate bowl
Add the banana or wet ingredients and mix till combined
Place on middle rack and bake for about 20 minutes till golden brown on top and spring back when touched.
Evenly divide the batter between the pans
Note: you can substitute other wet ingredients for Banana if desired:
Ex:
Zucchini
Carrot
Prunes
Apples / apple sauce
Greek Yogurt
Sour cream
Raspberries
Strawberries
Blueberries
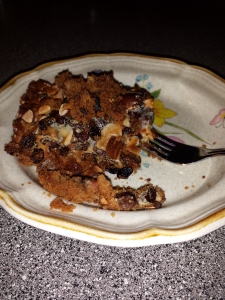
Magic Cookie Bars
These were by far my favorite “cookie” as a kid. They are more of a bar type dessert you eat on a plate since it is messy! I promised to give the recipe to someone and so I figured I would share with the masses. Sorry there are no pictures of this one… I will take some and update the recipe soon!
This will make 1 – 13×9 pan
Ingredients:
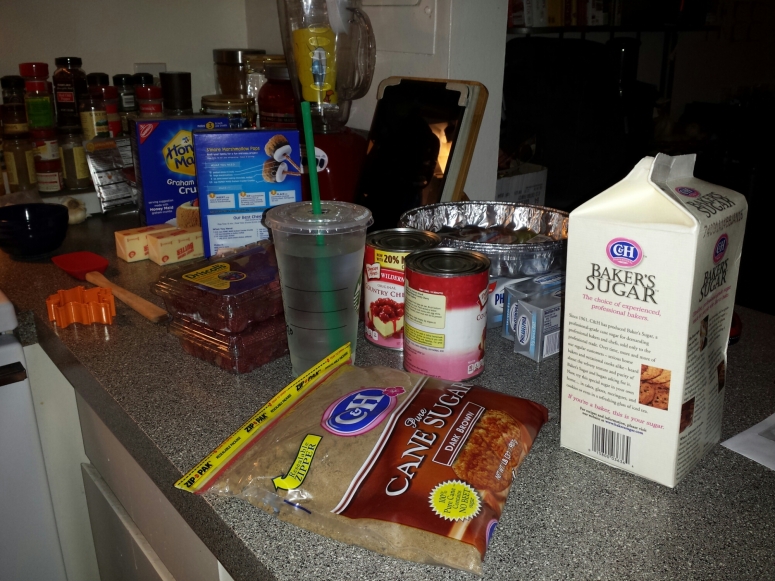
3 c. Graham Cracker Crumbs
1/2 c. butter/margarine
1c. chocolate chips
1 can sweetened condensed milk ( I use Borden Fat Free)
1 & 1/2 c. of any of the following toppings (or really anything else which you can think of as an Ice cream topping – minus gummy bears LOL)
Raisins, Chocolate Chips, Coconut, Roasted Almonds, Peanuts, M&M’s, Pecans, Yogurt Chips, Dried Cranberries etc.
Directions:
Pre-heat your over to 400° F.
Start by melting the butter in the microwave for 1 minutes (it might not be melted all the way, but that is ok). Mix the graham crumbs with the butter. They should be moist (like a rung out sponge) but not wet, if you find they are still runny or really wet add more crumbs till they are a little more sturdy.
Dump the crumbs into the 9×13 pan and use a rubber spatula to pat them into an even layer in the bottom of the pan. Bake in the oven for 5-7 minutes, till golden. You should smell it in the air when it is ready.
Once the crust is out of the oven allow it to cool 10 minutes.
Then top with your selected toppings. You want to make sure you leave some little “blank spaces” meaning you see the crust through the toppings.
Then crack the can of condensed milk using a can opener with a point and drizzle it from the opening in the top or take off the lid and spoon it over. I usually use a spoon and drizzle it one spoonful at a time for even covering.
Once the entire can is distributed over the entire pan, place the pan in the oven to bake for 15-20 minutes. You will know when the bars are done when the condensed milk bubbles and becomes slightly golden (you do no want it too brown, or the bars get to crunchy and become hard to eat).
Allow to cook at least 1 hour, and then cut and enjoy!
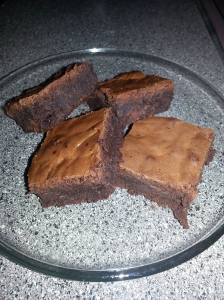
Decadent Cinnamon Chocolate Brownies
These are by far my favorite brownies EVER! I love their spicy cinnamon undertone and the fudge texture! They are great for BBQ’s or dinner parties and I even use them to make some of my signature Snickerdoodle ice cream sandwiches.
- 1 cup + 2 Tablespoons sifted flour
- 1/3 cup cocoa powder (unsweetened dutch unprocessed)
- 2 tablespoons ground cinnamon
- 1 teaspoon salt
- 3/4 cup (1 1/2 sticks) butter (12 tablespoons)
- 6 oz unsweetened chocolate (Bakers, is the brand I use)
- 5 eggs
- 2 teaspoons vanilla extract
- 2 1/2 cups bakers ultra fine sugar
- 1 cup semi sweet chocolate chips
- Preheat oven to 350. Grease and flour (or cheat like me and use Pam for baking) a 9×13 pan and set aside.
- In a pan on the stove, heat on low till melted and combined (takes about 5 minutes): the butter and the unsweetened chocolate bar, then set aside to cool
- In a bowl sift and combine flour, cinnamon, cocoa powder, and salt.
- In a separate glass bowl (or a stand mixer is what I recommend with the whisk or paddle attachments), combine sugar and eggs, vanilla and beat till you get a very fluffy texture (similar to egg whites – might take 5-8 minutes)
- Combine the cooled melted chocolate mixture with the flour/cocoa powder. It will be the consistency of tomato paste.
- Once the sugar/egg mixture is nice and fluffy (you can set it aside if needed but no longer than 2-3 minutes or it will flatten) then add in 4th’s the flour/cocoa paste mix.
- Continue stirring till fully incorporated and then add the chocolate chips and place in greased pan
- Bake for 30 minutes or until brownies begin to pull away from pan.
- Let cool completely and then DEVOUR!
Good Morning Juice
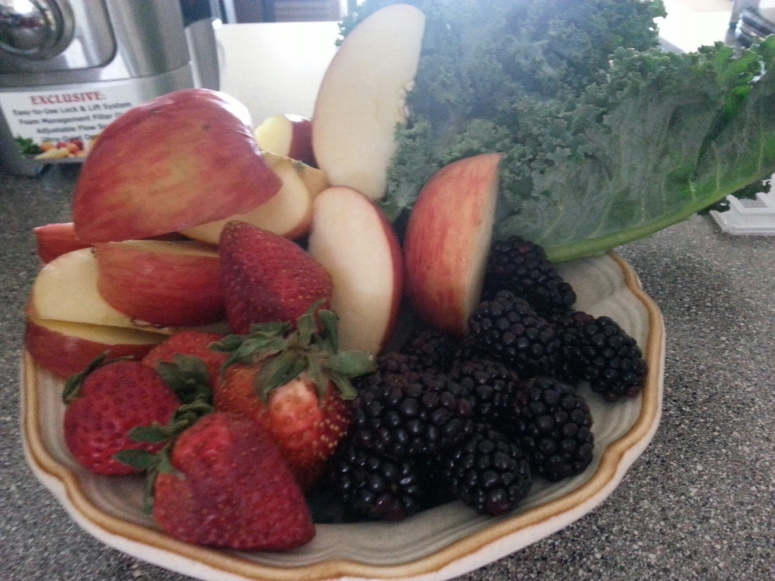
This is a great jumpstart to my morning routine. Also makes a great smoothie if you have a blender which grinds well. If you choose to make it a smoothie use carrot juice instead of whole carrots.
Ingredients:
1 large bunch kale
2 cups spinach
5 medium strawberries
1 small carton blackberries
3 large carrots
1 – 2 apples
You can juice in an order you like, buy I usually alternatively add leafy greens and berries – as this helps push the excess juice from the dry greens out
Then add carrots and apples as the sweet finish
Superb Strawberry Sauce
This amazing fruit is at the start of its season. So making this bright and fresh tasting sauce is a must. I share how to serve it 2 ways, chunky and smooth, so whatever your preference you can dig in. You can throw it on biscuits, yogurt, or eat it all by itself.
I do not add any sweetner to the sauce, till after it has cooked down. My reason behind this is most strawberries this time of year are ripe enough no sugar is needed. However in off seasons, for this amount of strawberries you may need 1/2 cup of the sweetener of your choice.
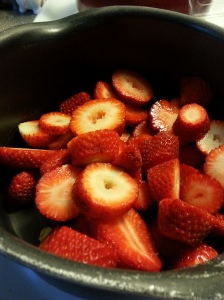
Start with 2 lb cartons of strawberries and a 3 qt sauce pan. Cut the strawberries into chunks of about the same size and add them to the sauce pan. Add 2 tablespoons of water to help with softening. Place lid on the saucepan, and turn on medium heat.
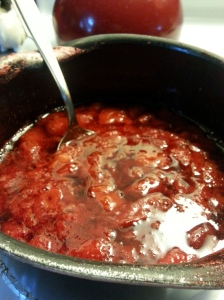
Allow the strawberries to cook till they bubble, usually about 30 minutes. The sauce at this point will look like the picture below. A chunky kind of strawberry soup. Taste the sauce at this point and add sweetener if needed. Add sweetener in small increments not only to keep carbs down (if using honey or white sugar) but also because adding too much sweetener will take away from the bright strawberry flavor.
At this point you have 2 choices, use it as it is (which is amazing!) or to puree and strain for a smoother sauce. If you choose to puree the instructions are below.
If you choose to keep it chunky it should keep in the fridge – about 10-14 days. I do not freeze the sauce when it is in the chunky form due to the tendency to crystallize and get very watery once you unfreeze it. You are welcome to freeze it if needed, just be aware it will be much thinner once you defrost.
To puree the strawberry sauce, allow it to cool (at least an hour) and then place it in a blender. If the sauce is still warm, start the blender on the lowest speed you can and work up from there. (Hot things in a blender will blow up everywhere – I have tested this and you do not want the mess!) I usually blend it for a few minutes (2-3) once I reach the highest setting.
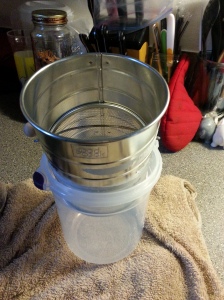
While the strawberries are blending set up the next step. Find a container which will fit all the puree, and place a fine mesh strainer over the top of it. If you do not have fine mesh you also can use a more coarse strainer and place cheese cloth over the bottom it to keep the seeds from coming through.
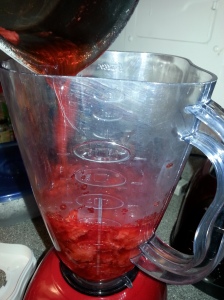
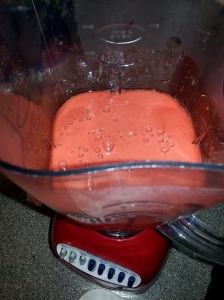
Once the puree is blended it will look like the picture below, kinda of a strawberry milk color and a thick almost milkshake consistency.
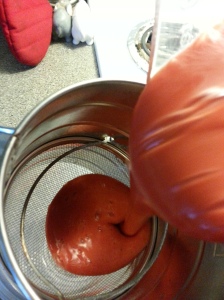
Take the puree and pour it through the strainer and into the container. I usually do this twice, cleaning the seeds in the bottom of the strainer after the 1st passing. This helps to ensure sure I got everything and creates a smooth sauce.
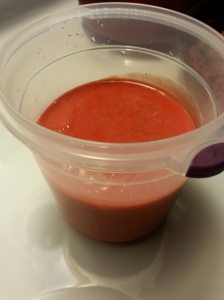
Once its strained, put a lid on the container and place in the fridge. In puree form will keep well in the freezer as well as the fridge.
Keep times: fridge – 10 days (roughly, before you might see some separation) In the freezer – about 2 months (before it becomes crystallized and takes on a kind of weird texture)
